Anyway, she’s got this blog, and I’ve been following it and marveling at all the stamps she makes, when I realized that I make stuff like that too! Only I did a whole lot of it for my wedding, and then I stopped because I got busy…like I always do.
I showed her a project I did for my wedding last year, and she really liked it. She said she’d post it on her blog, so I said I’d put the template up on my blog for any of you who might want to do this project yourself.
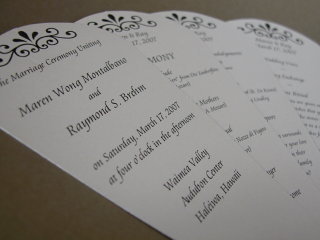
This project is a wedding program that I turned into a fan (I originally got the idea because I knew it was going to be hot out there in Hawaii, and I thought, “Hey, let me stick the program on a Popsicle stick, and then folks can fan themselves during the ceremony.” But the more I worked on it and researched it, the more I liked the idea of a folding fan with panels. So I modified a template that I found on DIYBride and played around with it on Adobe Photoshop until I could get the right width and angles. It was actually tricky coming up with something that was thin enough to fold down and wide enough to hold all of the text.
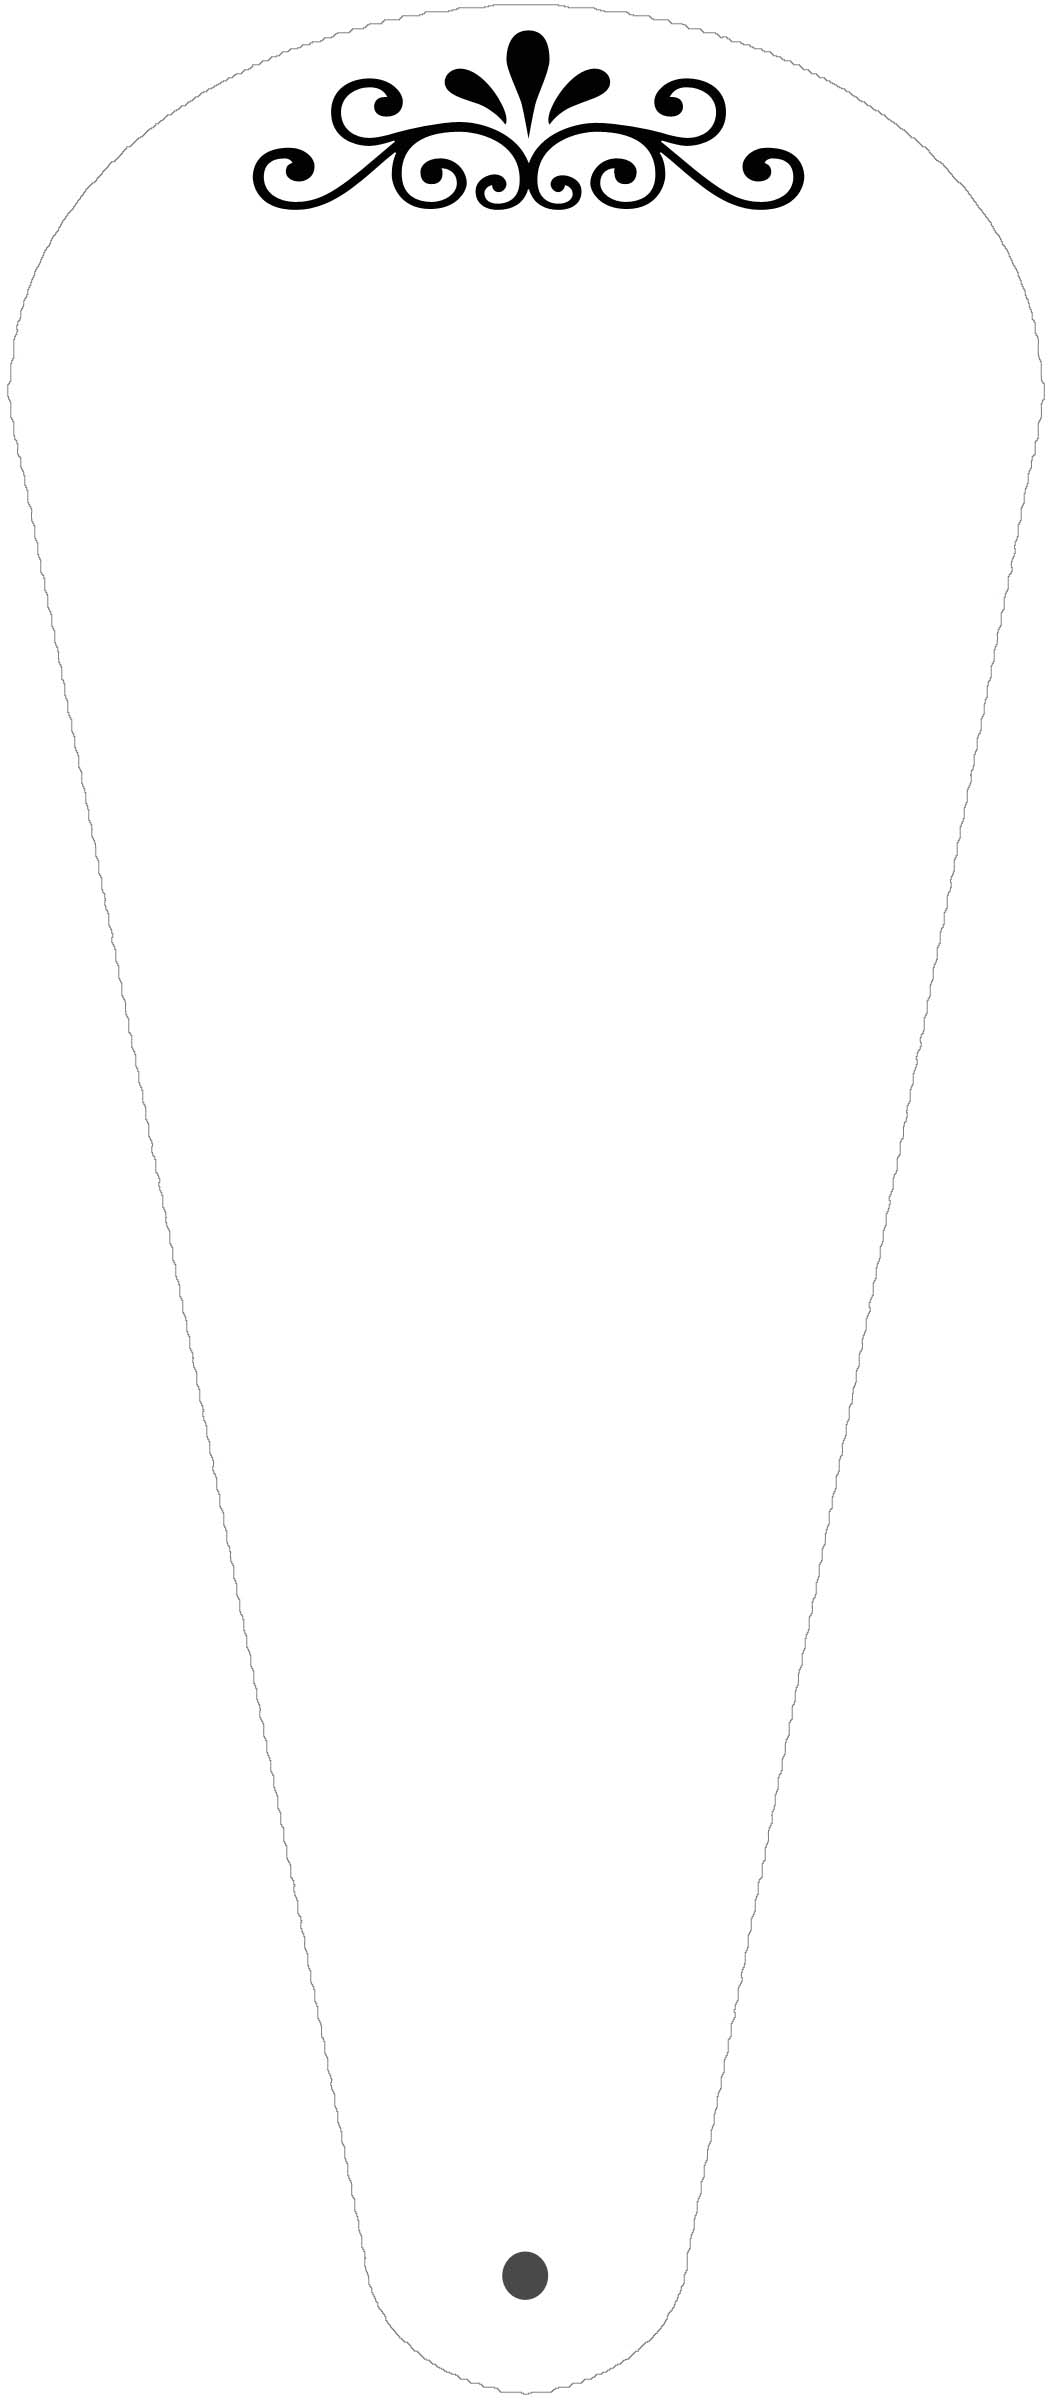
Here is one panel:
(click on the picture to get the JPG itself; right-click to save to your computer)

I then played around in Quark Express and figured out a way to fit three panels on an 8.5″ x 11″ sheet of paper so that I could print it out on my printer. The font I used is Aramis, which is a free font.
This is the Quark file.
Once I printed it out on card stock (it’s been a year since I did this, so I can’t remember what weight I used! I do know the thickest weight will not go through a standard inkjet, so go at least one step down), my husband and I went through the arduous task of cutting the panels out and arranging them in order (as a side note, I didn’t think this was going to take very long…after all, we only had 35 guests! But I didn’t take into consideration that each fan had 9 panels each, so there was a lot more cutting going on in front of the TV than I’d care to admit).
 We punched a hole in the bottom of each panel and then used a brad to attach all 9 panels together. We originally tried to use a grommet, but all that did was hold the pieces so tightly together that they didn’t move at all. So the next best thing was a brad, and we also threaded a little ribbon through the hole as well so our guests could swing them daintily from their wrists, if they so desired.
So there you are! Have fun.


On your April 24, 2008 post, how do I download the template? It won’t work for me?
OK, I think I fixed the problem. A few months ago, I had to back up all my files and then repost everything, and somehow the picture template didn’t get uploaded properly.
So, if you click on the picture, it will take you to another page with just the picture of the panel. Save that JPG file to your computer (on a PC, go to File | Save. I don’t know how to do it on a Mac).
If you have Quark, you can save that Quark link onto your computer, and it SHOULD work just fine. Let me know if that helps!
Good Luck! – Maren